Creating Container and Pluggable Databases using DBCA
In my earlier article, we got the short and sweet understanding of Multi-Tenant database, its features and benefits. The intent of article is understanding the process of creating Container Databases CDB that can hold none, single or many Pluggable Databases PDB.
The creation of CDB databases is as almost same as those in previous releases, whereas there is difference in PBD databases. Also we shall further see the way we connect to this databases. And finally how to plug and unplug the databases.
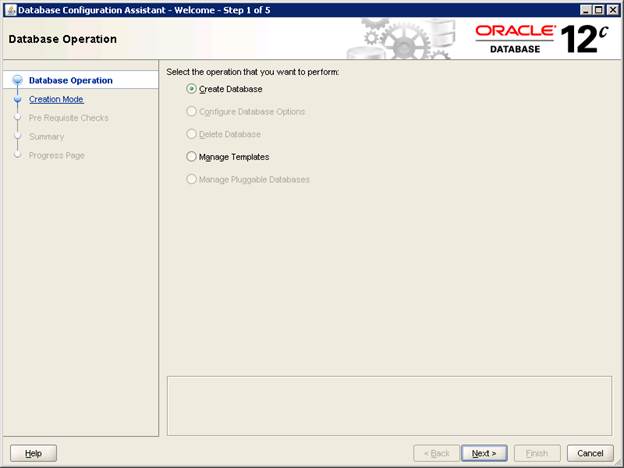
We shall start with Creating Container Database. We shall make use of DBCA utility to create the both CDB and PDB databases. The very first screen we see the introductory screen prompting us selection of operations for creation and managing. Select “Create Database” and move ahead.

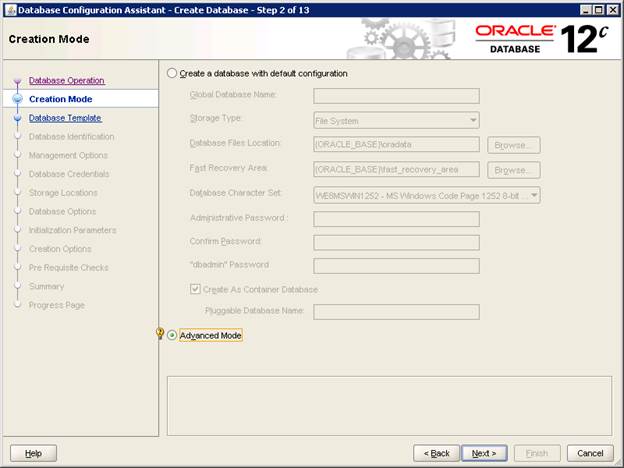
Select the “Advance Option”, this gives clear picture of the options with which we are about to create container database.
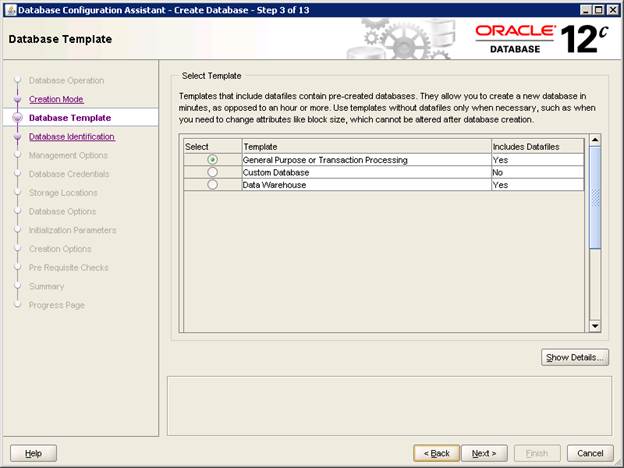
Here as we can select the template as our requirement. In our case “General Purpose or Transactional Processing” and get going.
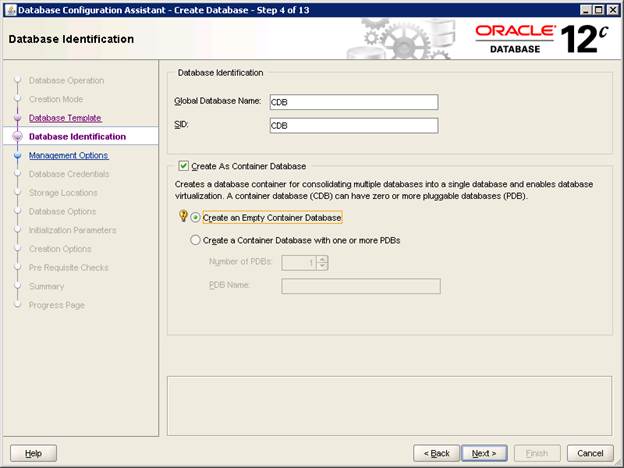
Name the database as you wish, in our case here “CBD”. We also see the option to create the database as container database with or without any pluggable database. Here, I have chosen to “Create As Container Database” with “Create and Empty container Database”.
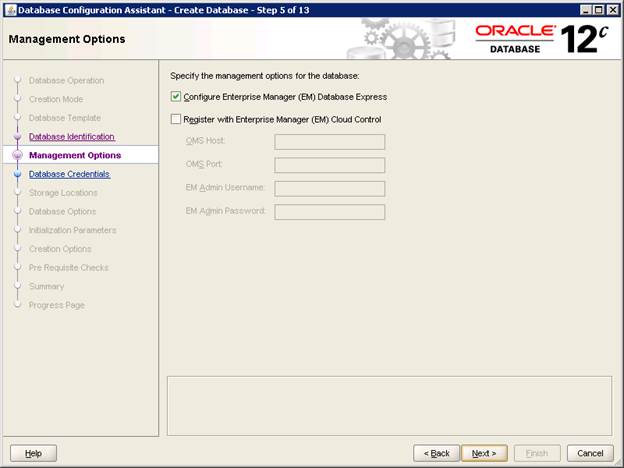
Select the option to Configure and Register with EM.
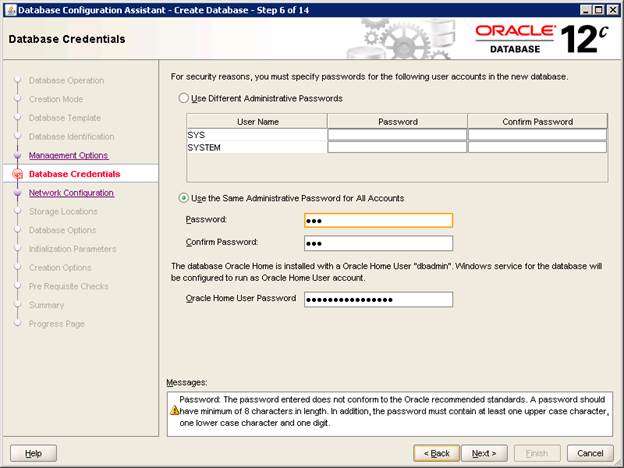
Provide the passwords for database users. Here, I have specified the same password for all the database users.
Again, you will notice on more textbox, where you need to provide the oracle password that you provided while installing database software. This is additional to Oracle 12c release.
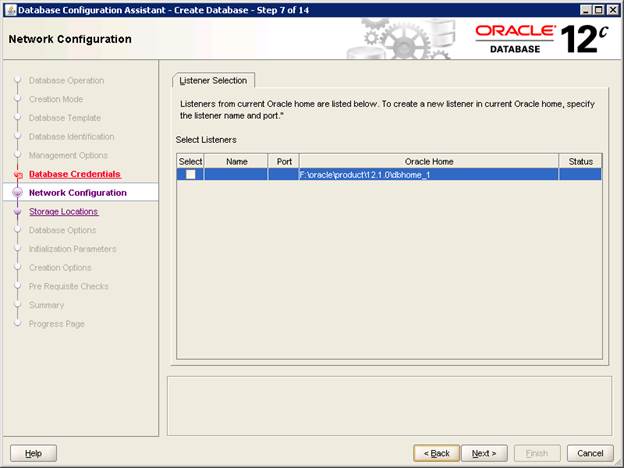
Choose the listener name and port number on which listener will listen. And click “Next”.
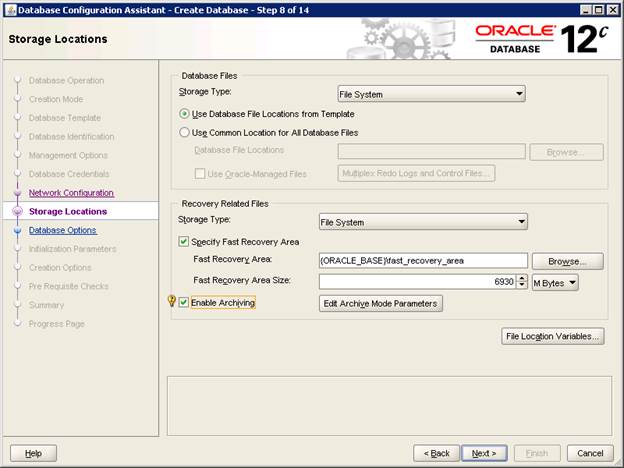
Select the storage options and Archiving, as per requirement and click “Next”
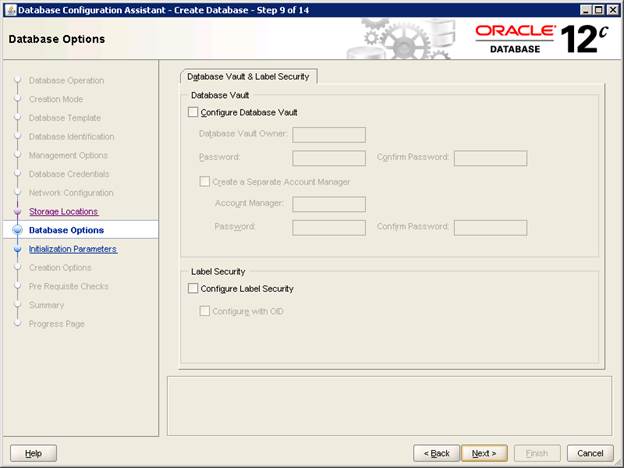
If you are using database vault, configure the vault options else click “Next”, as default settings.
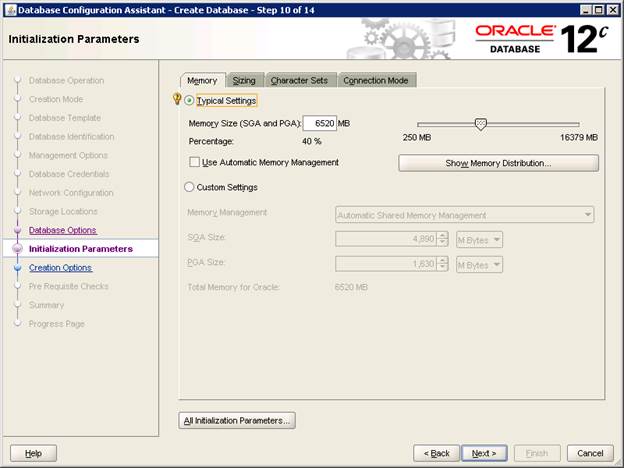
Configure memory and sizing for database.
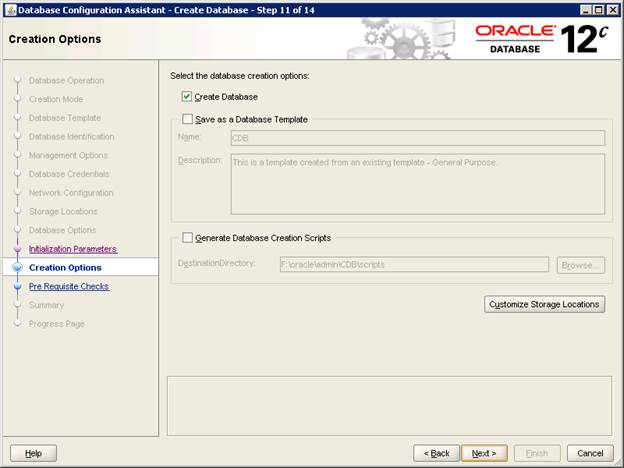
You can save the database creation script for further reference.
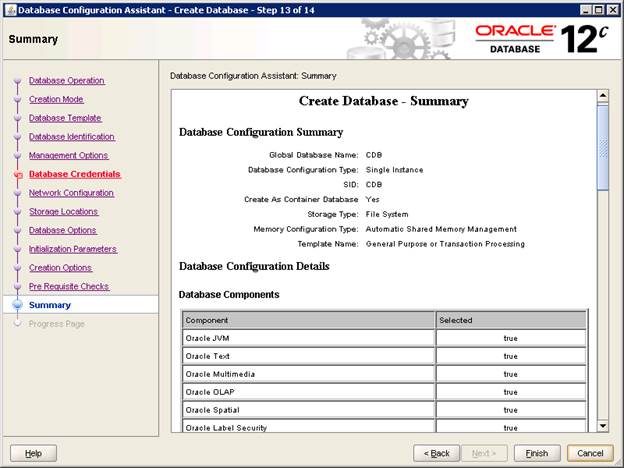
You can see the summary of the options you have selected so far. If you wish you can go back and change the settings. Click “Finish” to start the installation.
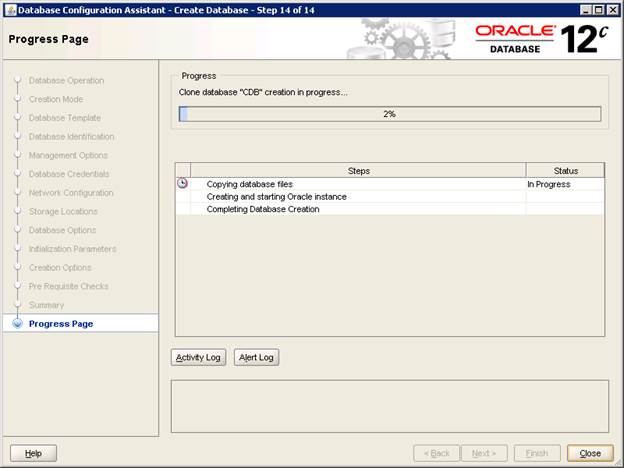
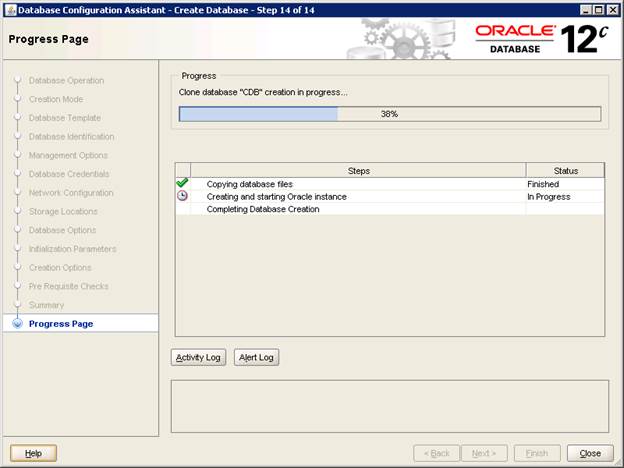
You see the progress of installation step-by-step.
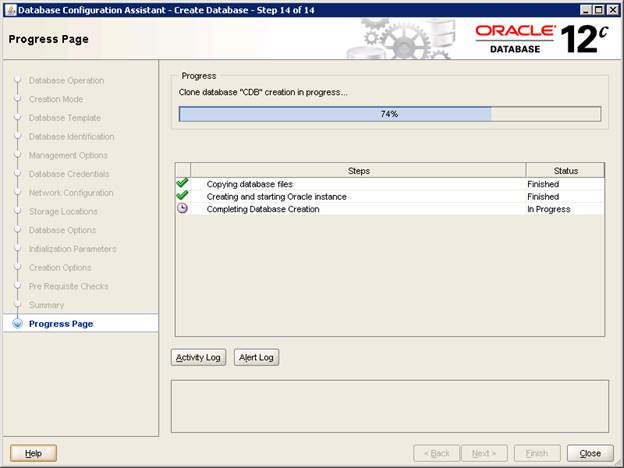
Click “Close” and here you have successfully created the container database. Now let us create the pluggable database in this container.
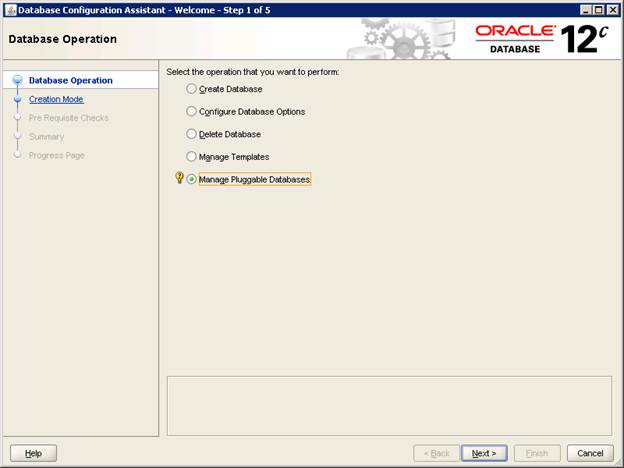
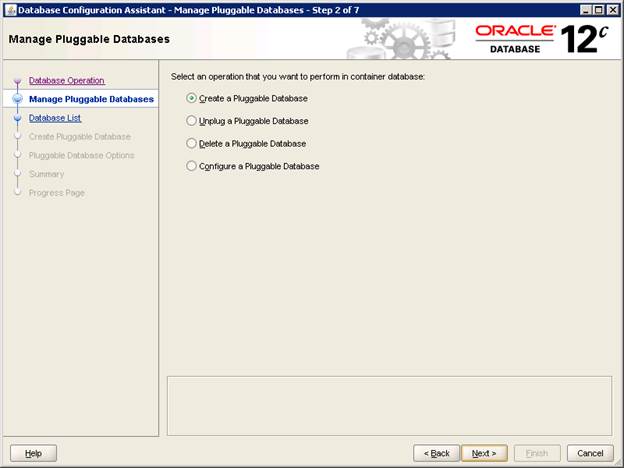
Creating Pluggable Database is very simple process. The only you specified to Container are directly applicable to pluggable database. From DBCA, select the “Manage Pluggable Databases” and move “Next”.
Select the option to create the pluggable database here.
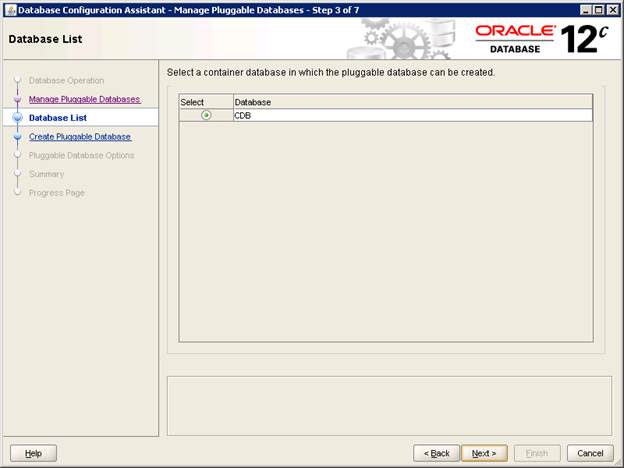
Select the container in which you want to create the pluggable database. In our case, we only have CDB.
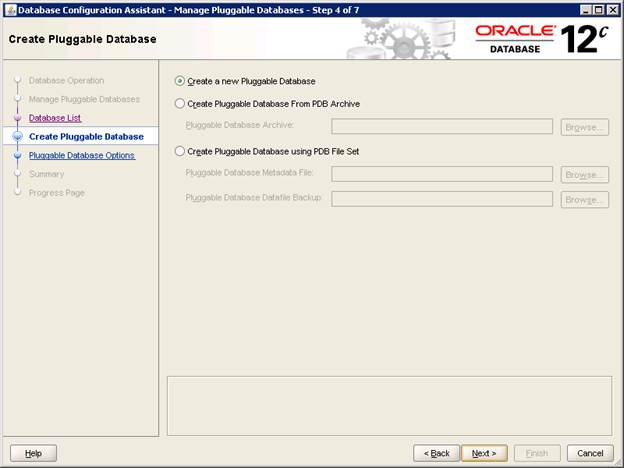
Specify “Create new Pluggable Database” and Click “Next”.
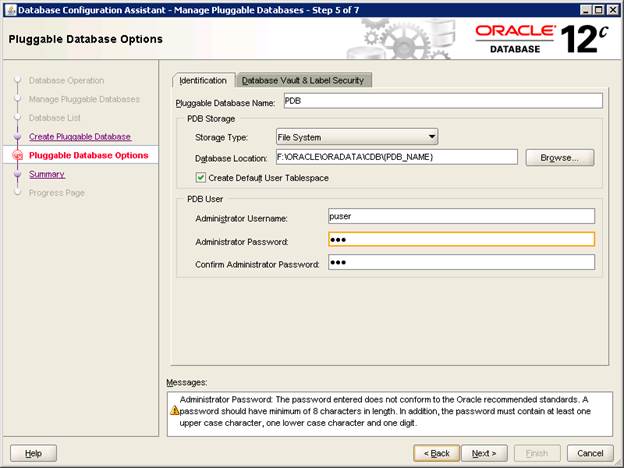
Provide the name of database as “PDB”, provide the username and password for this database.
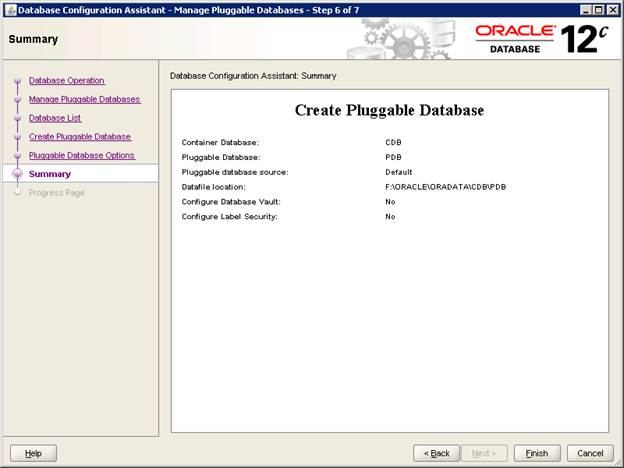
Have glance at the options selected and modify if required. And “Finish” to create the database.
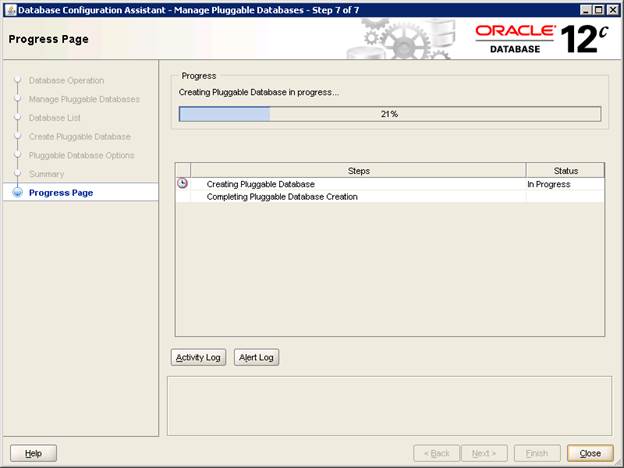
You can see the progress of database creation step-by-step.
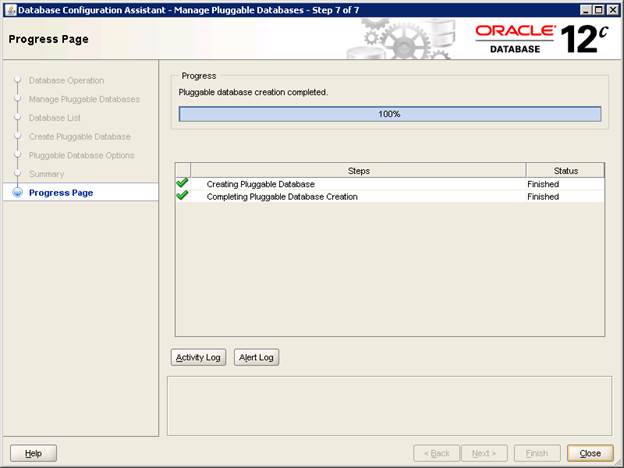
Click “Close” to complete the creation of PDB.
Now once the both container and pluggable database are created, it’s important to understand the how to connect to both databases. We must know differences in the database. If it is container what are different pluggable database in it. How do we switch between containers? We shall learn about this in next article.
- Achieving Secure, Reliable Compliance with India’s Data Sovereignty Mandates - November 17, 2025
- Implementing GPU workloads in critical government application - November 12, 2025
- Why the BFSI Industry Needs GPUaaS Now - October 31, 2025